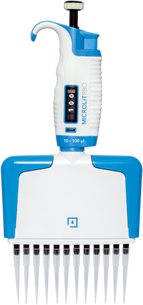
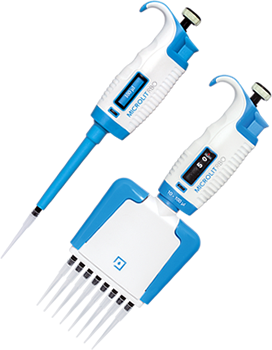
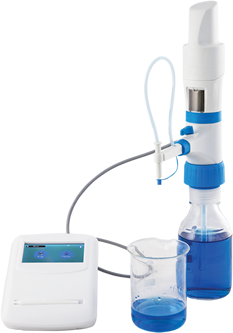
Proper care and maintenance of the pipette is crucial for efficient lab work. Establishing a routine schedule for daily, weekly, monthly, and annual maintenance ensures precise measurements, extends the lifespan of your equipment, and minimizes the risk of cross-contamination. A well-maintained pipette delivers more accurate results and reliable calibration. Below is a detailed guide for cleaning micropipettes effectively.
External Cleaning
Most pipettes can be cleaned externally using standard laboratory cleaning agents, soap, or alcohol. For complete sterilization, allow the cleaning solution to sit on the micropipette for 10-15 minutes before wiping it off.
Internal Cleaning
Cleaning the inside of the pipette is more time-consuming as it involves complete disassembly. Clean each component thoroughly based on the type of liquid used for sampling.
- Follow the instructions manual for specific cleaning directions.
- Use a cotton swab with a cleaning solution and distilled water.
- Apply a light coating of lubricant to the pistons, as provided with the pipette.
- Reassemble all parts and test the pipette to ensure it functions smoothly.
Contamination Cleaning
If the pipette is contaminated, follow additional cleaning steps based on the contaminant. The standard cleaning routine will not be adequate in cases of cross-contamination.
| Type of Solutions | Process to clean Pipette |
| For aqueous solutions, organic solvents and proteins | Rinse the contaminated parts of the instrument with distilled water or 70% ethanol, then air dry them at approx. 60°F. |
| For infectious liquids | Autoclave the lower section at 120°C temperature for 15 – 20 minutes then allow it to return to room temperature before reassembling it. |
| For radioactive substances | Place the pipette in a solution such as Decon, then rinse it thoroughly and allow it to air dry. |
| For nucleic acids | Boil the lower parts of the micropipette in a glycine/HCl buffer (pH 2) for 10 minutes, then rinse with distilled water and allow to air dry. |


 496
496


